
Sunday, December 29, 2013
Logy (My niece) wearing the set I have made
Sunday, December 15, 2013
Model picture for my sister jacket
I have made this jacket for my sister using a 6mm needle, and eyelash decorative yarn. I also have made this crochet bag two years ago both for my sister.
 Another picture


Hat for my brother (My design)

Its pattern raises the problem of changing the flat stitches to circular one again. I have changed many flat stitches to circular stitches, and wandered about the criteria of that changing. Of course there are some of criteria , but also there are some flat stitches cannot be circular. One of that kind of stitches which doesn't change to circular is that one which borrow some of it from previous one.
I changed that one to circular , but found out it is difficult to write the pattern.
Close look at the stitch


Saturday, December 14, 2013
Set for my Niece (My pattern)
I will let you with the picture from plain to embroidered touch. I have made the 3D roses -different types, and I have used two kind of embroidery stitches -braid, and daisy.
Here is the whole set


I have made this back finished using crochet hook


Now the plain set :
( this is the set before I embroidered it to show the knitting stitches, and how it was.)
It is circular down to top dress. Oh it is first time I have used my stitch marker, and it is an AMAZING lol love it so much.


Friday, December 13, 2013
Proplem and slution
The problem
 The solution ( In my opinion)
 This time I let the stitches alive -as the book said, but don't make the Kitchener stitch. I have used the crochet hook to close the alive stitches first or bind them off , Then graft the stitches.


 Here are the steps before you graft the closed stitches. This is better-in my opinion- because I can close the extended stitches of the yoke, and even avoid the holes around the underarm stitches.
any way it is what I made, and wanted to share it with you .
I have read the Elizabeth Zimmerman's book about making different style of circular garments. It is down to top . It is good book , and easy to follow. I have countered one problem with this technique; it is the underarm and sleeve alive stitches.
According to her technique you should leave alive stitches of sleeve, and alive stitches of body. then you make Kitchener stitches to close those alive stitch. Here is the result when I did as the book said. Of course it is awful result!!! The stitches extended as you see and are so loose. I didn't like it at all.
I have made a blouse for my mum last year , and got an idea of bind off the underarm stitches before joining sleeves with body. It was better , but still have holes around the underarm stitches. So I have to think in another solution for this problem.


any way it is what I made, and wanted to share it with you .
Tuesday, December 3, 2013
Jacket for my sister

I have used 8 skeins of this kind of yarn, and knitting needle size 6mm. Here is the result.
It is huge , and gives a fur appearance .
It was easy to knit with this kind of yarn, and this big needle. The only difficult with it is , you cannot see the rows or stitches so you have to use a row counter, and be very careful not to drop a stitch.


Sunday, November 17, 2013
Shawl and wrist warmer


After I have got rid of the splint , I resumed my working in my knitting projects as a therapy for my hand. It was advice from a friend who broke her hand before. She told me to practise crochet, but I couldn't . Crochet was so so hard for my hand because I hold the hook as a pencil. I stopped , and thought of my knitting project. It was so easy to knit even if with so weak right hand.
I have used the idea of the shawl to make my wrist warmer. I have used the provisional cast on, and Kitchener stitch to make it seamless. As I said I also alternate the yarn with lace weight yarn.
I am practicing crochet now -with hardness- but with big hook, heavy weight yarn, and with knife method.
My shawl, and wrist warmer


I have used the idea of pattern to make my wrist warmer.
Friday, November 15, 2013
My mark stitches


How to make your mark stitches
Materials : steel thin crochet hook, scrap of yarn, some leftover different sizes beads, and a scissors


Thursday, May 16, 2013
Get Rid of Rib tutorial
what if you want to get rid of your ribbing cuff or bottom of your knitted piece for any reason?
what if you want to replace the ribbing part or bottom part of your old knitted piece?
Actually It has happened with me that I have knitted an Aran poncho , and after I finished the first piece- which was lot of work- I didn't like the bottom. I have learned this technique to get rid of the bottom.
Here are the pictures to know this technique.
Suppose this small piece represents your knitted piece. the brown part is the bottom, and the yellow part is the rest of your knitted item. I have used two colors to show you which part you will cut . So that brown part is the bottom, and the yellow is the rest which we will keep.
 Now Bring scissors , and also another needle to pick up the alive stitches.
 Now which part you will cut. see the wrong side of the work and see the head of the brown stitches. like the next picture.
 Now start to cut this part, and with the other needle pick up the yellow alive stitches. Be careful NOT to cut the yellow yarn.
 Now pick up the yellow stitches one by one to not lost anyone of them.
 Another picture to show you the progress.
 Finally you get all your bottom stitches alive on the other needle , and are ready to replace your bottom part. as the picture
 Another picture shows you the whole yellow piece without the brown part, and the alive stitches

please try this in small swatch before you do it with your knitted piece. Hope it is useful.
what if you want to replace the ribbing part or bottom part of your old knitted piece?
Actually It has happened with me that I have knitted an Aran poncho , and after I finished the first piece- which was lot of work- I didn't like the bottom. I have learned this technique to get rid of the bottom.
Here are the pictures to know this technique.
Suppose this small piece represents your knitted piece. the brown part is the bottom, and the yellow part is the rest of your knitted item. I have used two colors to show you which part you will cut . So that brown part is the bottom, and the yellow is the rest which we will keep.


please try this in small swatch before you do it with your knitted piece. Hope it is useful.
Saturday, April 6, 2013
Circular blouse for my mum


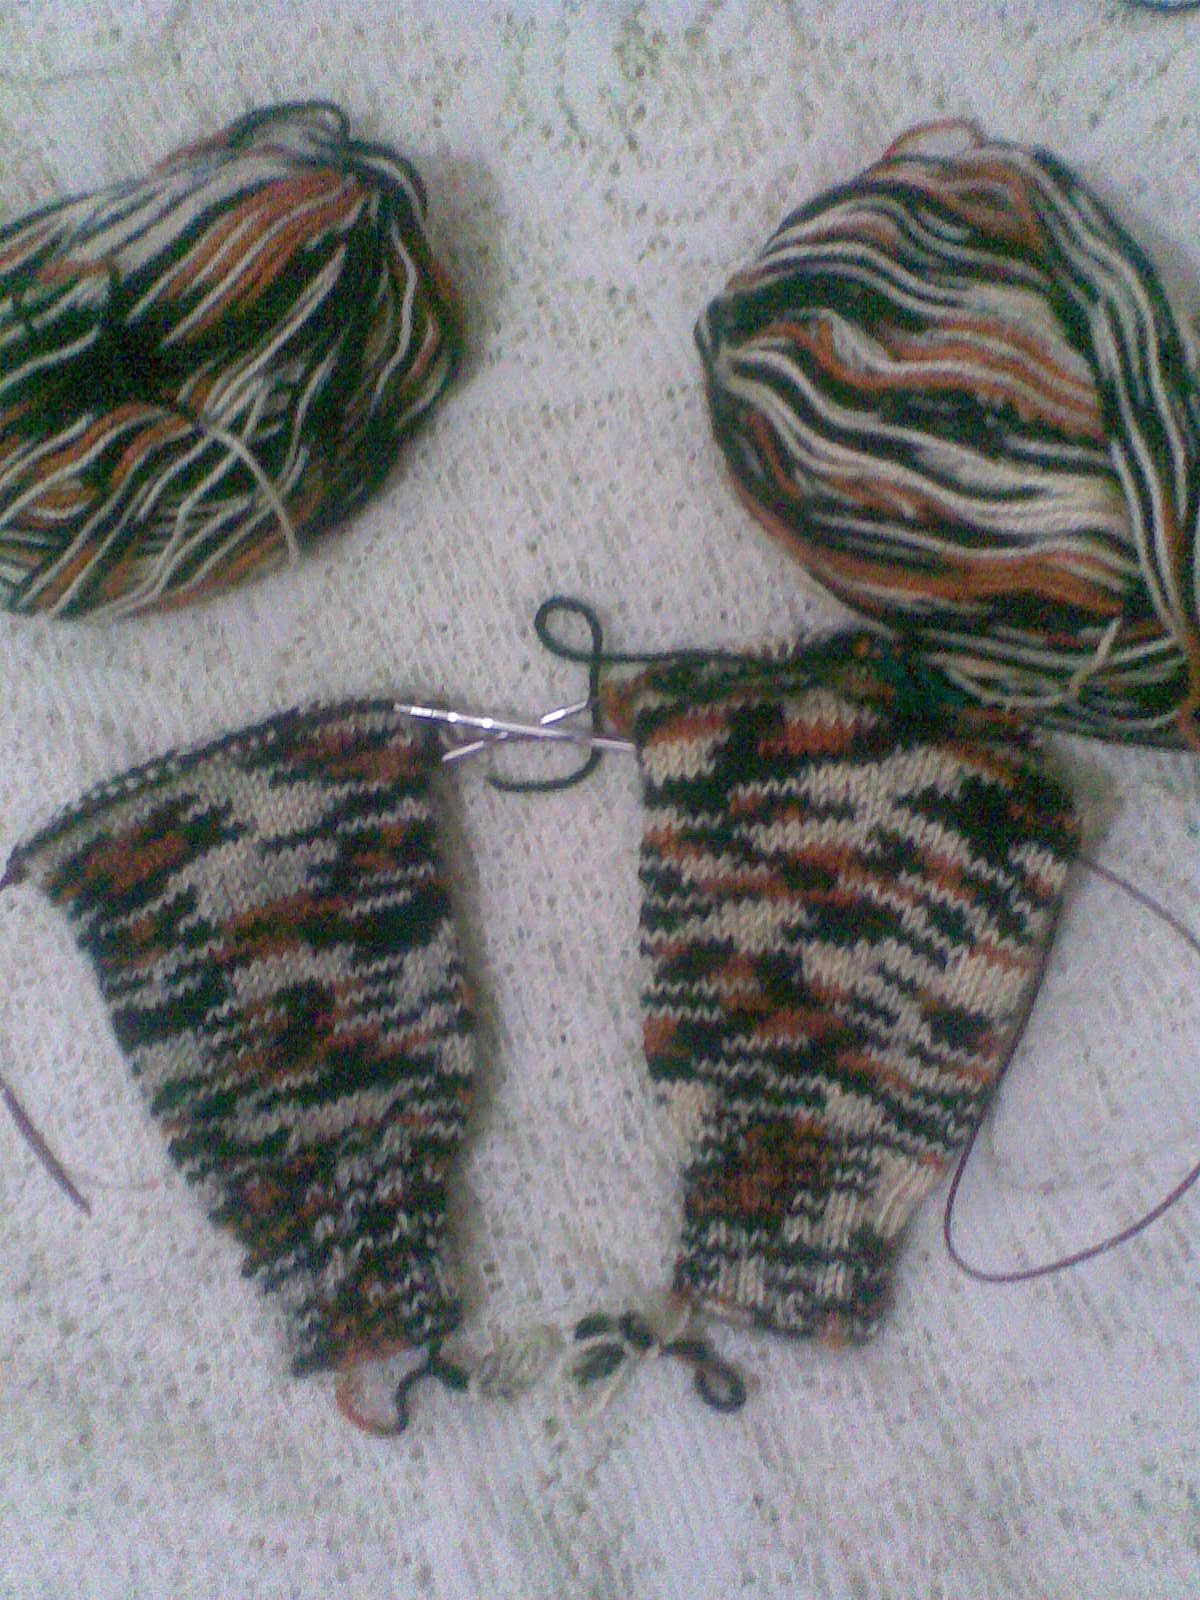
Workshop
I have used the technique of making two socks using one long needle to make the two sleeves with each others like the pictures. It is better than making one after another.


Here is the body of the blouse
 Here is the body with the two sleeves. This time I have bind off the underarm stitches first. This reduced the holes under the sleeves , but I had to graft two holes using sewing needle. Any way it is better than leaving the stitches alive until I finish.


Here is the body of the blouse


Subscribe to:
Posts (Atom)